No products in the cart.
While the older generation might laugh after reading the title, its fair to call out that there is a whole new generation of enthusiasts. So lets go through the steps of analog recording on a cassette deck – but lets ask ourselves one questions before starting.
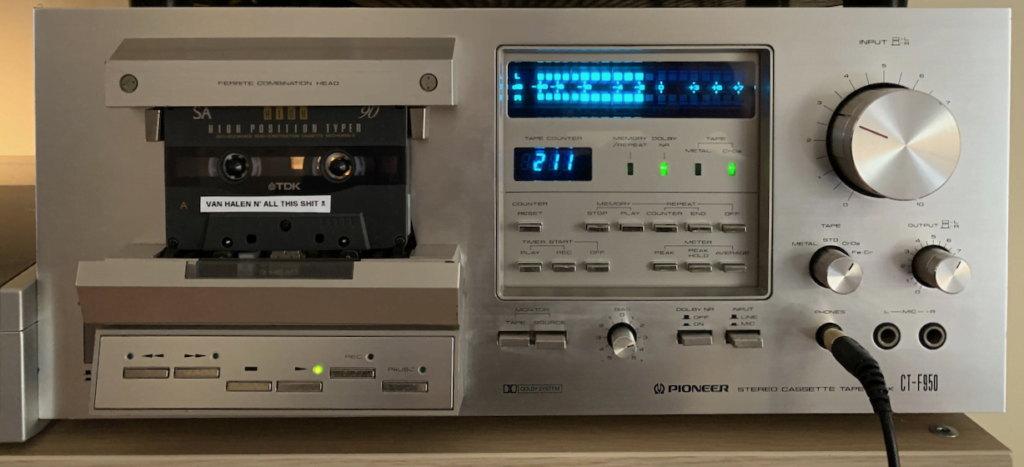
Why recording a tape in 2024?
We got Spotify, Apple Music, iPods and all kind of fancy player. That either stream whatever you like or just play what you dumped from your computer on them. Thats very convenient and its sounds good (enough)? Well the good sound especially from the streaming services is highly debatable. But one thing it isn’t for sure – analog.
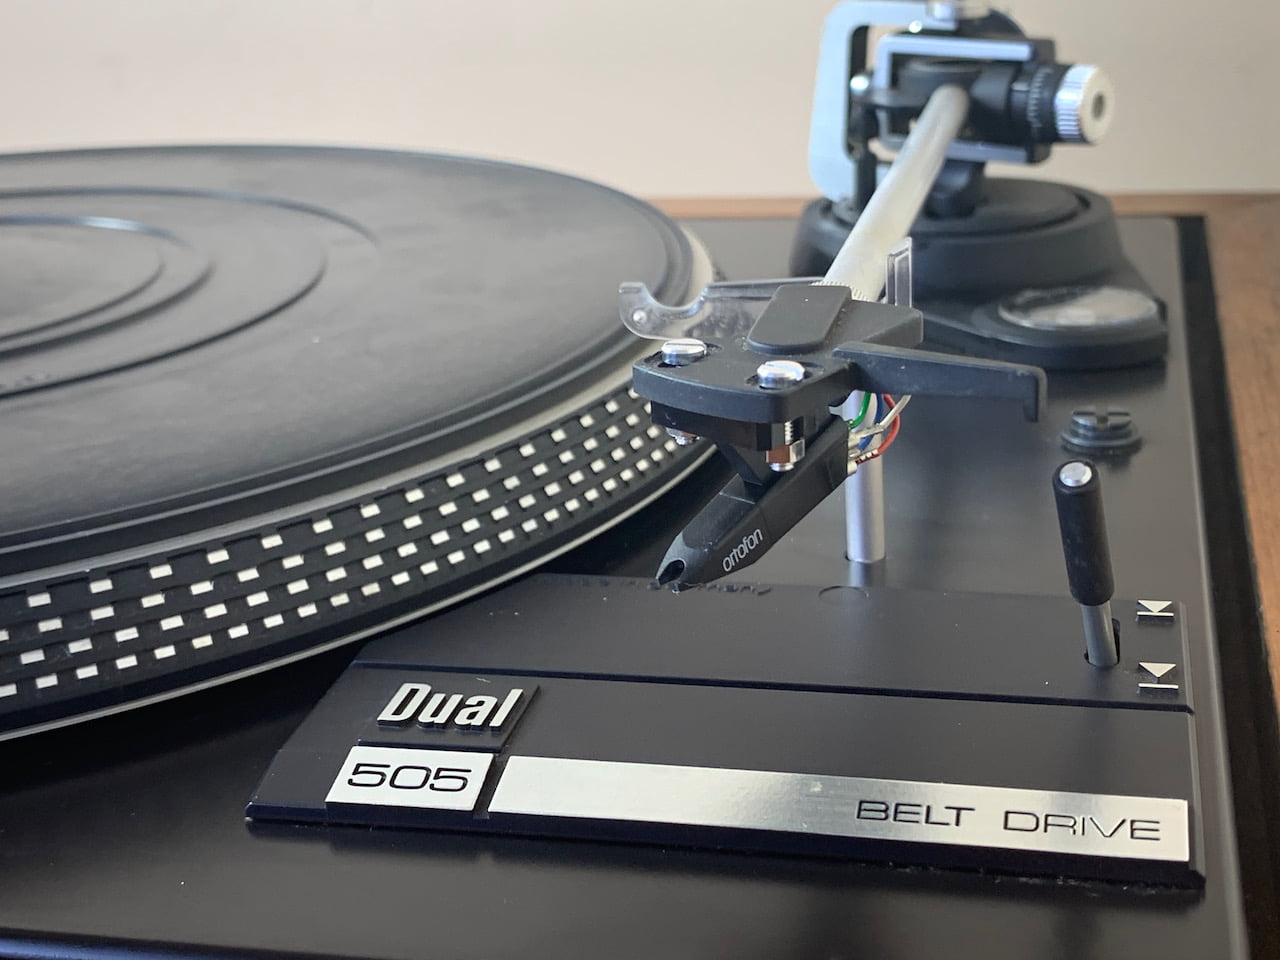
Vinyl record sales are back on a high and people enjoy the analog sounds once again. But sometimes we just get tired of listening to all the tracks on a side of a record. A problem that faced generations before digital media was born. So what could be the solution? You record the tracks you like on a tape. Still you got the amazing analog sound and it is more convenient than navigating through a vinyl record.
Three different tape types
Like with so many things in life there are different types of empty tapes that you can buy.
Type I / Normal Position (or Ferro)
The cheapest option and thats what still widely available today. The frequency response of Type I tapes is due to its properties limited and ends at about 16kHz. It also doesn’t maintain the highest dynamic range and Ferro tapes are know to leave a “rusty” looking buildup on head, pinch rollers and capstan. It is recommended to regularly clean these parts of your deck with isopropyl alcohol if you are using a lot of normal position tapes.
But its not all bad about normal position tapes. Brands with a good quality record (BASF, TDK, Maxell, SONY etc) made some good tapes. Some good normal position tapes were better than high positions ones. If your cassette deck is far from high end it wouldn’t probably matter anyway.
Type II / High Position (or CrO2)
My favourite option are chrome dioxide (Type II) tapes. Their frequency range goes up to 18kHz, they got good dynamic range and your recording levels are allowed to be a bit higher than on normal position ones without distorting. They were back that days not that much more expensive. They don’t leave that buildup and just sound more brilliant. Why investing a lot of time on a mix tape and then taking an inferior medium like normal position tape? Unfortunately today they are hard to get and there is only one manufacturer in France that just started to make some again.
Type IV / Metal Position
Metal tapes are the best performing tapes. Even in the golden age they were 3 times the price of a high position tape. The frequency range goes all the way up to 20kHz and they do sound great. But not all vintage decks (especially those before ~1980) do not support them. They are not manufactured anymore and for a new old stock metal tape you might pay something between $40 to $80. From my own experience not worth the money. A good high position tape sounds in my option as good as metal position one.
Time to Record a Tape!
So now we got the idea and we (hopefully) got a new tape and we want to start recording. For this tutorial we will make the assumption you use a Normal Position tape.
You can also use an already used tape. It will get wiped in the process of recording. You kind of “record over it”. The original recording will be gone completely. But you need to make sure that the tabs to protect the tape from erasing are there and haven’t been broken off. Otherwise your cassette deck mysteriously wouldn’t allow you to start recording. See the picture below for illustration:

Depending on what kind of tape you have (Type I, II or IV) modern cassette decks adjust automatically internal settings for playback / record matching the tape type. But if you are on an oldie from the 70ties, you have to pick the type yourself manually. Also some high end decks leave that with you – this high level of control can be considered a luxury.
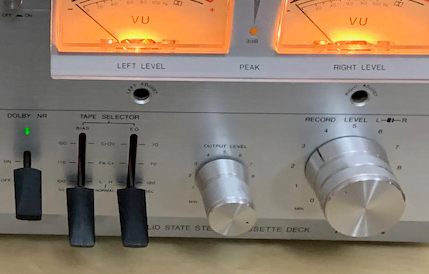
On this vintage AIWA Cassette deck you have to do the selection manually. You can see two switches related to the tape type. Bias and EQ (equalisation). But only Bias is of importance for the recording. The EQ switch sets the parameters for the playback. For normal position the Bias has been set (L H / Normal) and the equalisation has to be at 120 for normal position. Again, in most decks from the 80ties and onwards, that is done automatically. You might also notice that this deck has no metal position, the highest ist CrO2. But there is a new one “Fe Cr”. That is actually Type III (you might have wondered where number 3 has gone in the list above). FeCr had been abandoned early, the composition of the material was damaging the heads (think of sandpaper).
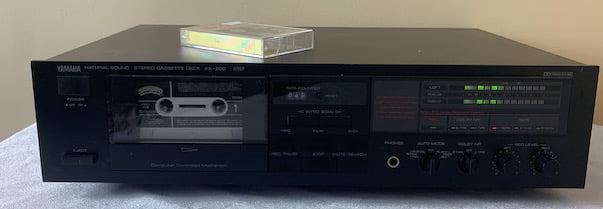
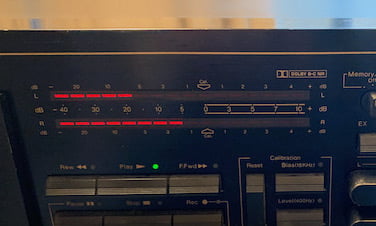
Ok, so that tape is in the deck and the right type selected. Now we have to figure out the record level. How loud do we ant to record on the tape? For that we need to start the playback from our source (CD Player, Turntable etc) and press PAUSE+RECORD on our Cassette Deck. With the signal now getting to our deck we should see the VU meters moving. For a Type 1 Cassette you should not go on the scale above +2 (left from the 0 is negative, right from it is positive). You can go louder with Type II or Type IV tapes. But its pretty much your own experimentation to figure out what sounds best. To get a stronger or weaker signal you just need to adjust the Record Level on the deck.

Once you are satisfied that you are not going over +2 dB at peak volume of the track, you restart the playback from your source and unpause the cassette deck. You are recording your first track on a tape now!
To get the best possible result, I suggest to rewind the tape after the recording of the first track has finished and test listen to the recording. How does the playback level look like? Often the adjustment of the recording levels are a good bit away from reality. If you are not anywhere close to the record level we wanted to be at peak (+2dB), raise the recording level a bit.
If it goes far beyond +2 (e.g. +4 dB) you will hear distortion. The tape gets over-saturated and thats certainly something you don’t want and you have to lower the recording level.
Noise Reduction
Pretty much all Cassette Deck are equipped with Dolby noise reduction. It will be just Dolby B for the older and B + C for the younger generation of devices. You will hear hiss in your recordings, especially in the quieter passages. Thats a disadvantages of the medium. To compensate for that the Dolby system was invented. While Dolby B is pretty good, Dolby C is far more effective.
Very important for you to know is, that a tape that has been recorded with Dolby has to be played back with it. Dolby changes your recording. While tapes recorded with Dolby B still tolerable played back without it, it is not the case with Dolby C. Tapes recorded with Dolby and played without it will sound very bright.
What’s your reaction?
Love7
Sad0
Happy1
Sleepy0
Angry0
Dead0
Wink0


